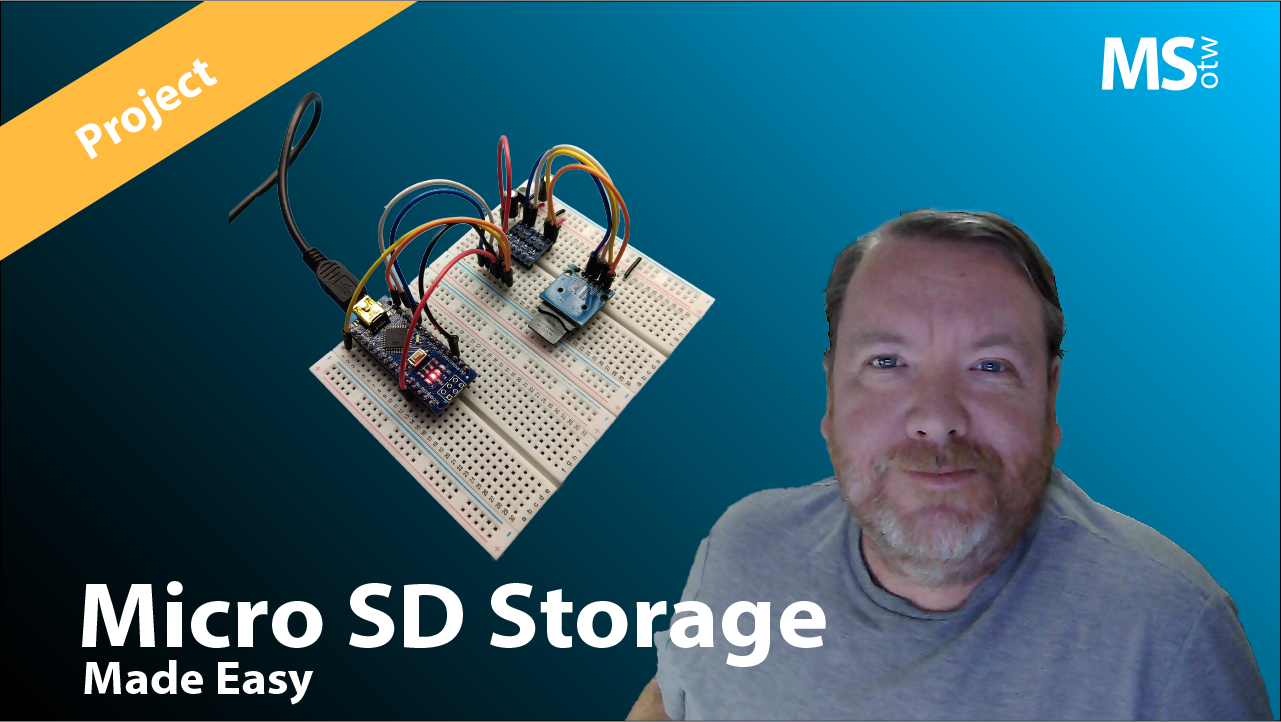

Data storage is an extramly useful feature. There are many different types of data storage, Microflash SD cards provide an easy way to add large amount of data storage for low cost. This page provides detailed instructions on how to connect an SD card module to the Arduino Nano specifically, but the approach is not limited to the Arduino. There's also a video to help you get started, click on the button below to watch.
Required Components
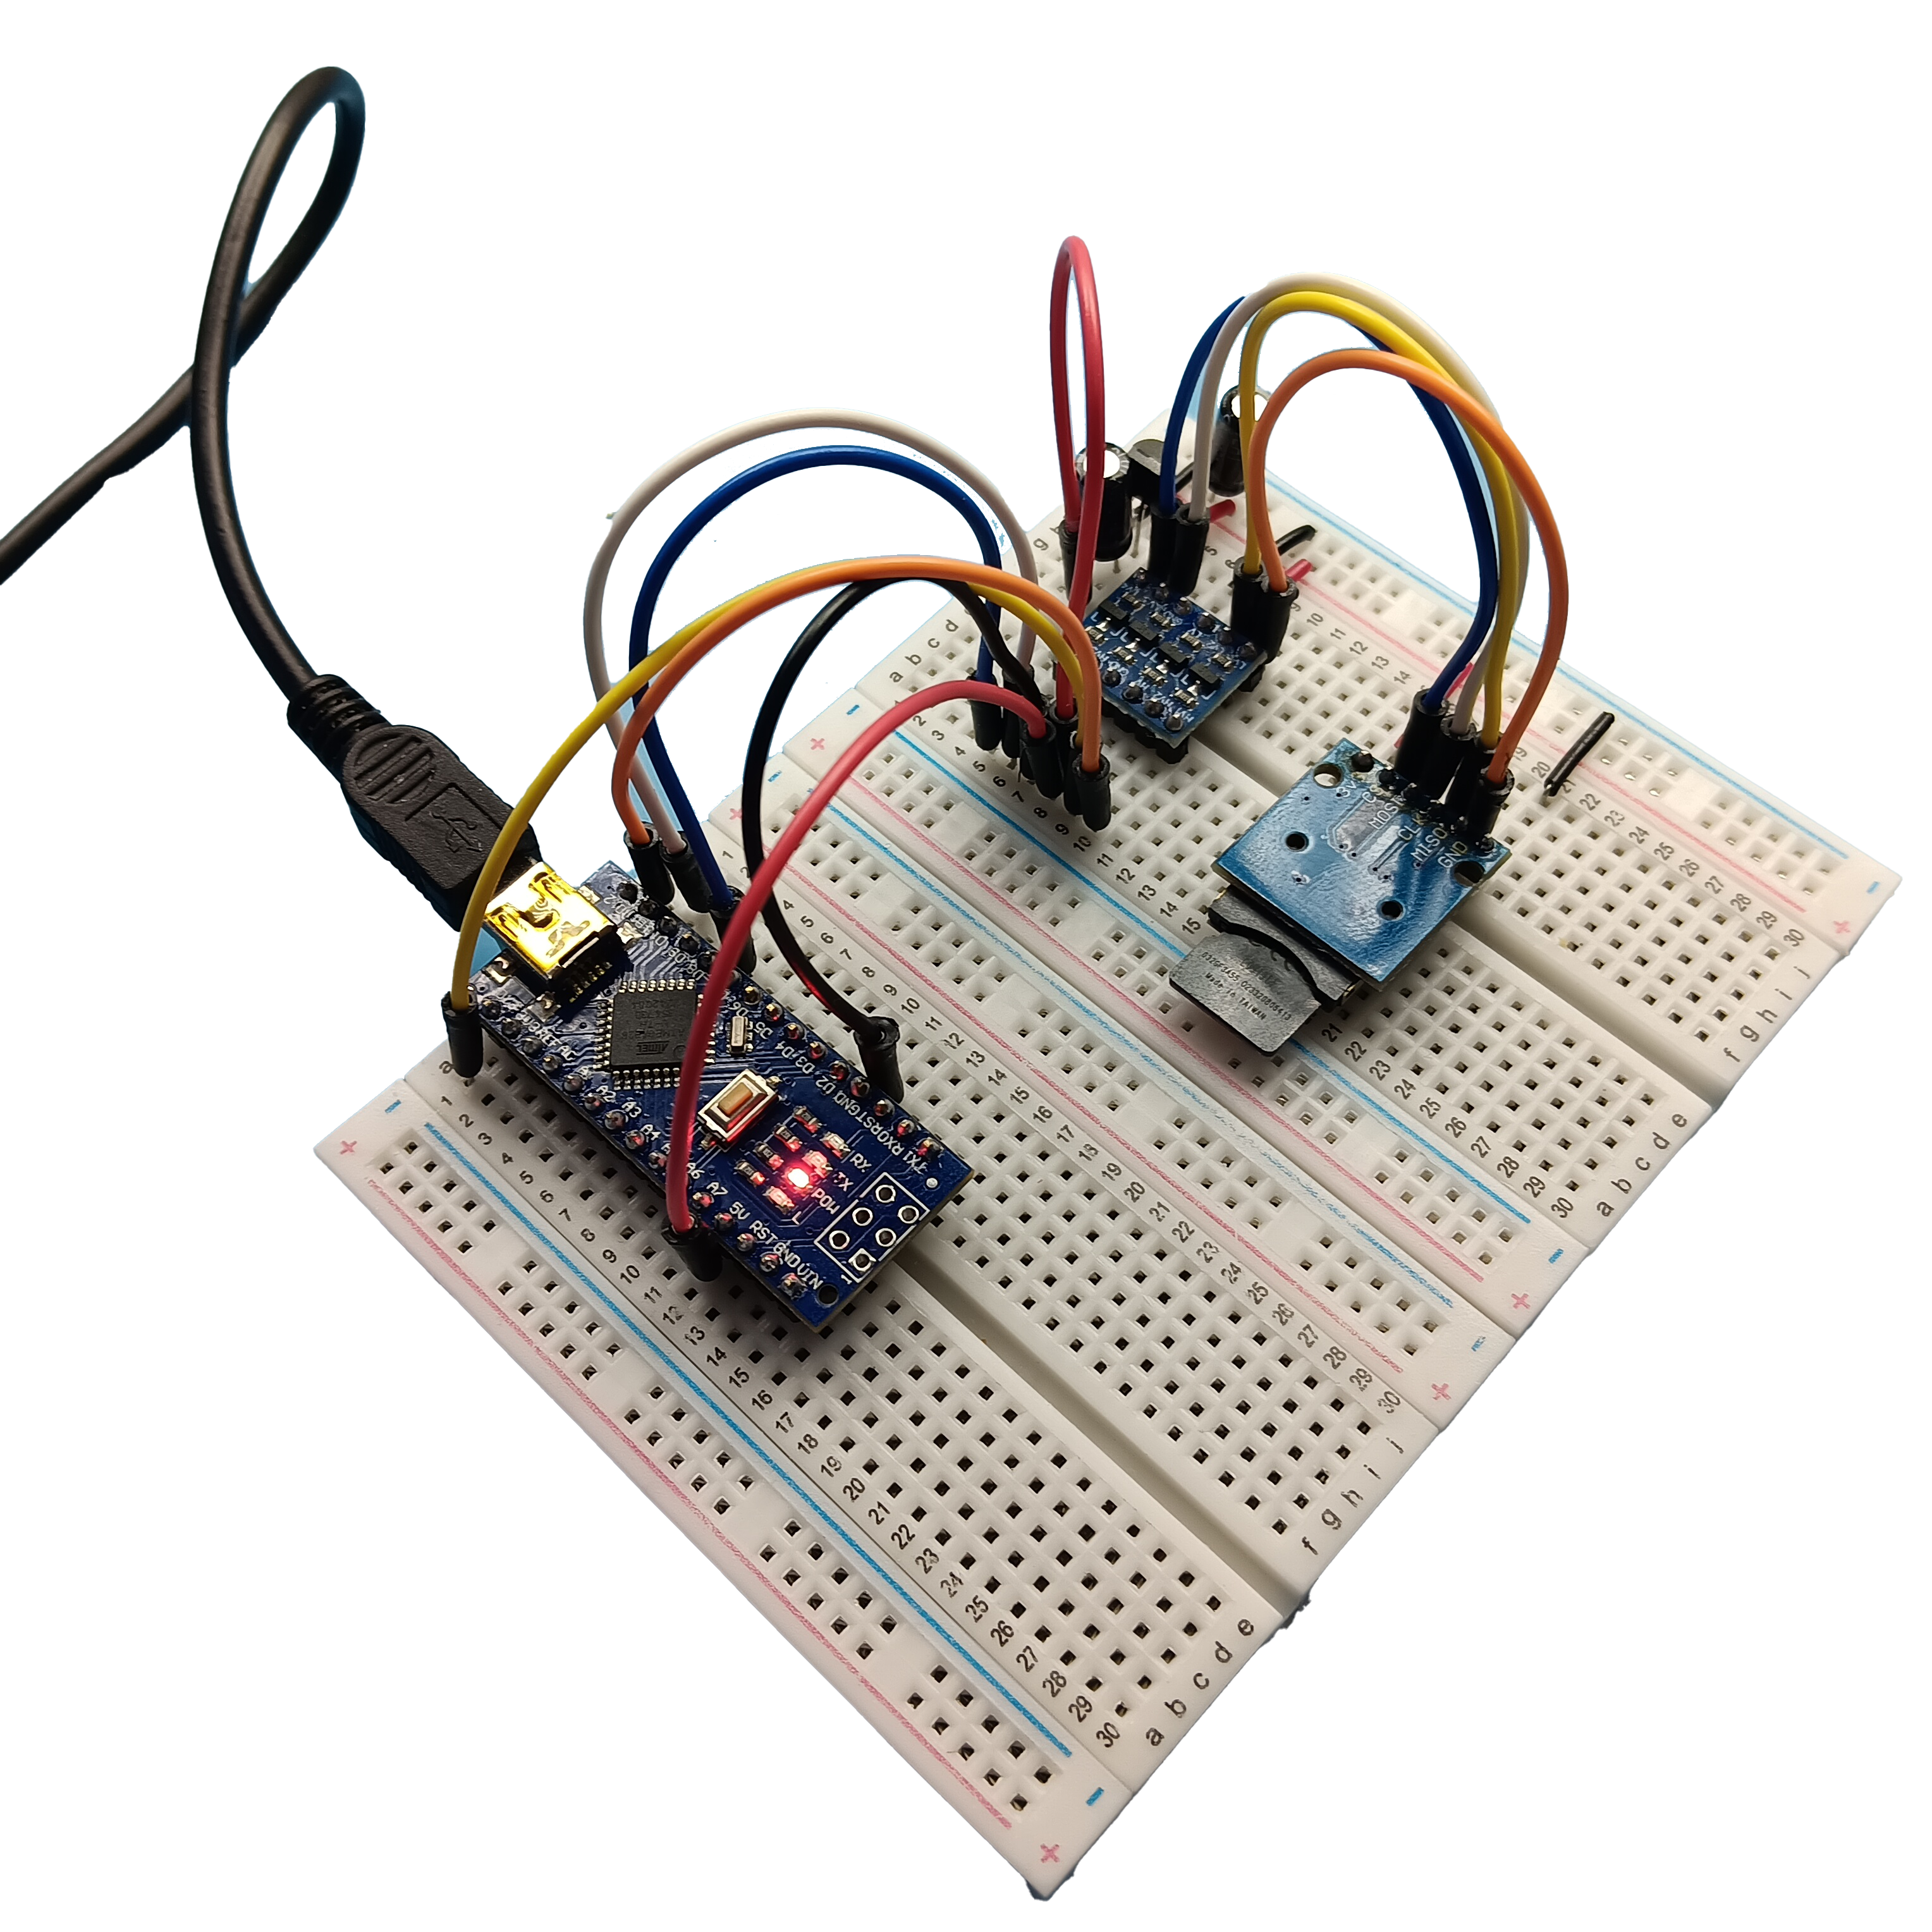
The connections are fairly simple, the SD card uses the SPI (Serial Periferal Interface). Most microcontrollers have a hardware SPI module. If they do not, its also possible to bit-bang an SPI bus (Use GPIO lines with software). The SPI bus uses three main connections. The SCK (Serial Clock), MISO (Master In Slave Out), MOSI (Master Out Slave In) and any digital IO pin for the Chip Select. They are connected from the microcontroller to the SD card module.
The only problem is with the Arduino Nano. The Nano uses a 5v Power (Vcc), this means that all of the digital pins are 5v but the SD card has a maximum voltage of 3.6v. This means we must use a logic level converter for these four pins and we must provide 3v3 power with upto 200mA.
In my circuit I use a MCP 1700 LDO (Low Drop Out) regulator, this can provide a 3v3 supply at 200mA from the 5v output of the Arduino Nano. This only requires two 1uF capacitors for stability. One on the input and one on the output. The regulated 3v3 power is then feed into the logic converter module on the LV (Low Voltage) side and 5v is connected to the HV (High Voltage) and the SD module. The four data lines and then connected from the microcontroller to the HV side and the LV side is then connected to the SD card.The connections can be seen in the diagram shown below.

Thanks to the libraries provided by Arduino and Sparkfun, controlling the SD card is easy. The first step is to install the SD library. This can be done from the library manager in the Arduino IDE. Simply search for SD and you will find SD library by Sparkfun, install this and you are almost done.
If you go the the examples and look for SD you will find the sketch that I use in the Video (Read/Write).
Now, get a SD card 32GB or less, Connect the SD card to the PC and it should show up as a new drive. Make sure the SD card is formated as FAT32. If you format the drive, Make sure to use FAT32 and MAKE SURE YOU SELECT THE CORRECT DRIVE.